Intro
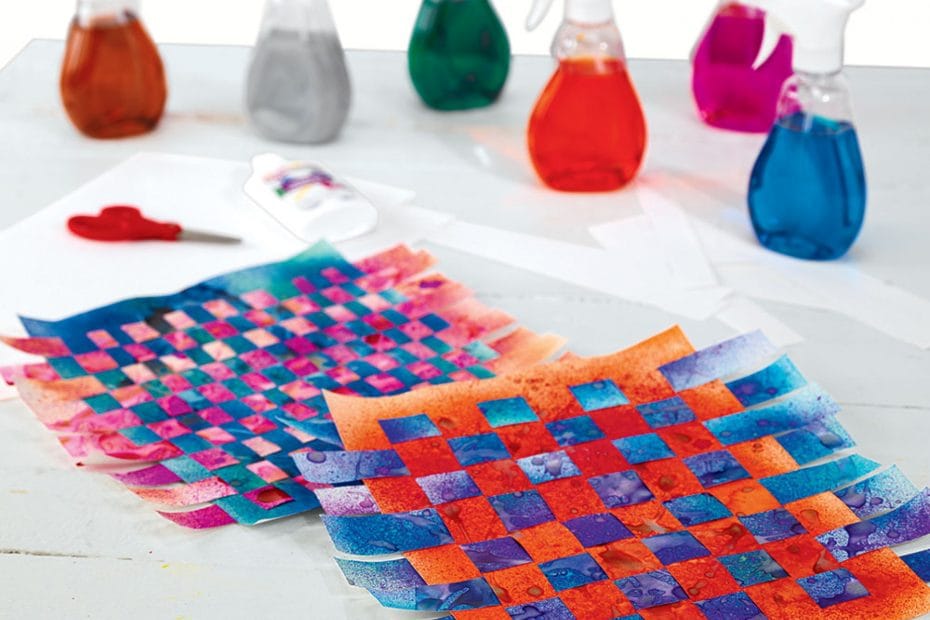
Combine a classic weaving activity with the beauty of watercolor! Weaving activities are a
great way to develop fine motor skills and introduce crafts such as baskets and textiles.
Liquid Watercolor™ adds a gorgeous watercolor component, and a chance to explore
complementary colors.
Set Up Ideas
After adding Liquid Watercolor™ to sprayers, consider arranging the sprayers along a
color wheel so that children can easily find complementary colors to use for their craft.
Let’s Get Started
Because this activity involves spraying and drizzling of paint, ensure that children have
cleaning supplies available. This is a great activity for breaking out classroom aprons!
Each child will need two sheets of art paper, scissors and paint in their desired colors.
Tips and Tricks
For an interesting and visually pleasing contrast of colors, consider using warm colors for
the base and cool colors for the strips. Or, have children use a color wheel to find and use
complementary colors.
Follow up Activity
You may wish to mount, hang and display your woven artworks. If so, glue your
completed project onto a sheet of black paper. Then add magnets, strings or anything else in order to display your craft.
This activity provides a great opportunity to discuss the history of weaving. Weaving is
one of the most ancient forms of human artistic expression and has been used to create
baskets and textiles for generations by many different cultures.
Steps:
- Provide each child with two sheets of art paper. One sheet will be the base and the other
will be the strips. Spray two different colors of paint on each piece. - Add metallic accents by drizzling Liquid Watercolor gold and silver accent swirls and
dots over both sheets. Allow to dry overnight. - Fold the base sheet in half and cut slits from the folded end to roughly an inch away from
the edge. Cut the second sheet into full strips. - Weave the strips in and out of the base. Glue the strips and base together at the edges to
hold the strips firmly in place.